Sheet cakes have long been a go-to dessert for their simplicity and versatility, but adding kefir to the mix brings an unexpected twist. If you’ve never used kefir in baking, you’re in for a treat. This tangy, fermented dairy product not only boosts the cake’s flavor but also enhances its moisture and texture. Whether you’re baking for a special occasion or just want a foolproof dessert to wow your guests, a kefir sheet cake recipe card is your ultimate guide.
In this article, we’ll cover everything you need to know about making a kefir sheet cake, from understanding what makes kefir unique to mastering the recipe step by step. Plus, we’ll explore tips for success, creative topping ideas, and make-ahead storage tricks. So grab your mixing bowls, and let’s get started!
What Makes a Kefir Sheet Cake Unique?
The Secret Ingredient: Kefir
Kefir is the star of this recipe, and for good reason. This tangy, yogurt-like dairy product is packed with probiotics, giving your cake not only a rich flavor but also a healthful edge. When added to baked goods, kefir interacts with the leavening agents to create a light, fluffy crumb that’s hard to resist. Unlike buttermilk or plain yogurt, kefir brings a deeper complexity to both taste and texture, setting this recipe apart.
But what exactly makes kefir so special? It’s the fermentation process. Kefir is cultured with beneficial bacteria and yeast, resulting in a tangy flavor profile that enhances both sweet and savory dishes. When used in baking, it’s a game-changer.
Cultural Origins of Kefir Baking
Kefir has a long history, with roots in Eastern Europe and the Caucasus region. Traditionally, it’s been used in a variety of recipes, from savory breads to sweet cakes. Its natural acidity makes it an excellent ingredient for baking, as it helps balance flavors while improving the overall structure of the cake. Over time, kefir has made its way into kitchens worldwide, becoming a favorite for health-conscious bakers and culinary adventurers alike.
By incorporating kefir into your sheet cake, you’re not just adding an ingredient—you’re tapping into a tradition that’s been cherished for centuries. And the best part? The kefir sheet cake recipe card makes it easy to bring this cultural staple into your home.
Key Ingredients for a Delicious Kefir Sheet Cake
Essential Components for Your Kefir Sheet Cake Recipe
To create the ultimate kefir sheet cake recipe card, you’ll need a mix of basic pantry staples and one standout ingredient—kefir. Here’s what you’ll need:
- All-Purpose Flour: The foundation of the cake, providing structure and stability.
- Granulated Sugar: For sweetness that balances the tang of kefir.
- Eggs: Essential for binding the ingredients and adding richness.
- Kefir: The star of the show, bringing tanginess and a tender texture. Use plain, unsweetened kefir for the best results.
- Unsalted Butter or Oil: Adds moisture and a smooth mouthfeel.
- Baking Powder and Baking Soda: These leavening agents work together with the kefir to create a fluffy cake.
- Vanilla Extract: Enhances the overall flavor with a subtle sweetness.
Each ingredient plays a vital role, ensuring the cake is moist, flavorful, and perfectly baked.
Optional Additions for Creative Variations in Your Kefir Cake
One of the joys of using a kefir sheet cake recipe card is how easily you can customize it. Want to make it unique? Consider these optional ingredients:
- Cinnamon or Nutmeg: Add a warm, spicy undertone.
- Fresh Fruit: Incorporate diced apples, berries, or pears for a fruity twist.
- Chocolate Chips: For an indulgent version, mix in semi-sweet or dark chocolate chips.
- Cream Cheese Glaze: Top the cake with a tangy glaze for an extra layer of decadence.
These add-ins not only enhance the flavor but also give the cake a personal touch, making it perfect for any occasion.
Step-by-Step Instructions for Making Kefir Sheet Cake
Preparing the Batter

Creating a kefir sheet cake recipe card that’s easy to follow starts with mastering the batter. Follow these simple steps for a flawless result:
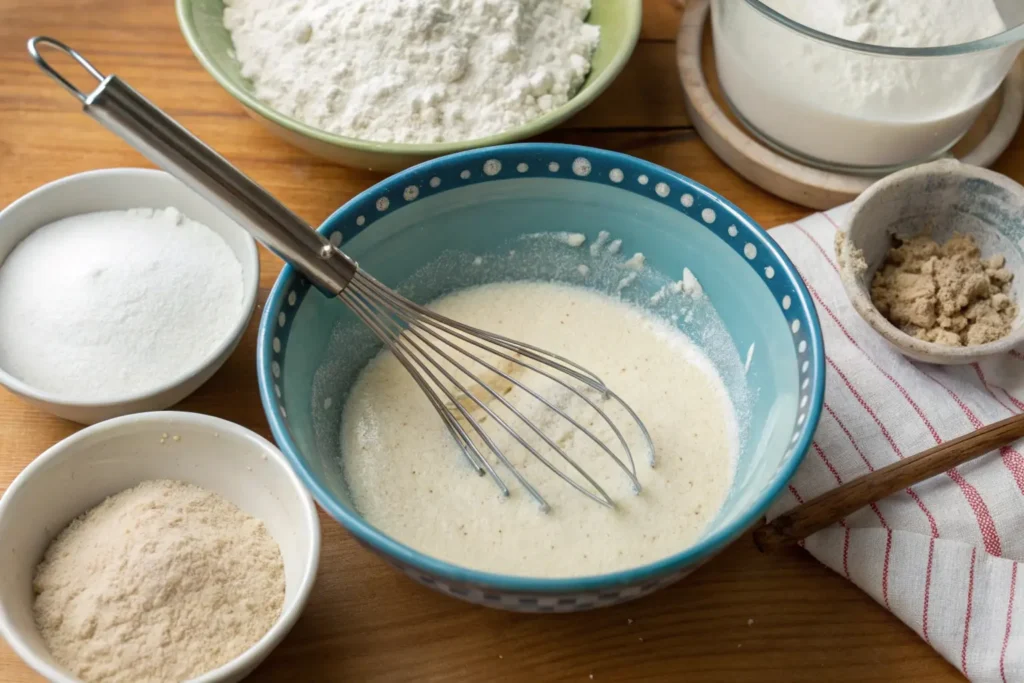
- Mix Dry Ingredients: In a large bowl, whisk together the flour, sugar, baking powder, and baking soda. This ensures even distribution of the leavening agents.
- Combine Wet Ingredients: In a separate bowl, beat the eggs, then add the kefir, melted butter (or oil), and vanilla extract. Mix until smooth and well-blended.
- Incorporate the Dry Ingredients: Gradually add the dry ingredients to the wet mixture, stirring gently. Avoid overmixing, as this can lead to a dense cake. Stop once the batter is smooth and free of lumps.
Baking to Perfection

The next step is ensuring your cake bakes evenly and comes out golden and delicious:
- Preheat the Oven: Set your oven to 350°F (175°C). Grease a large sheet pan or line it with parchment paper for easy cleanup.
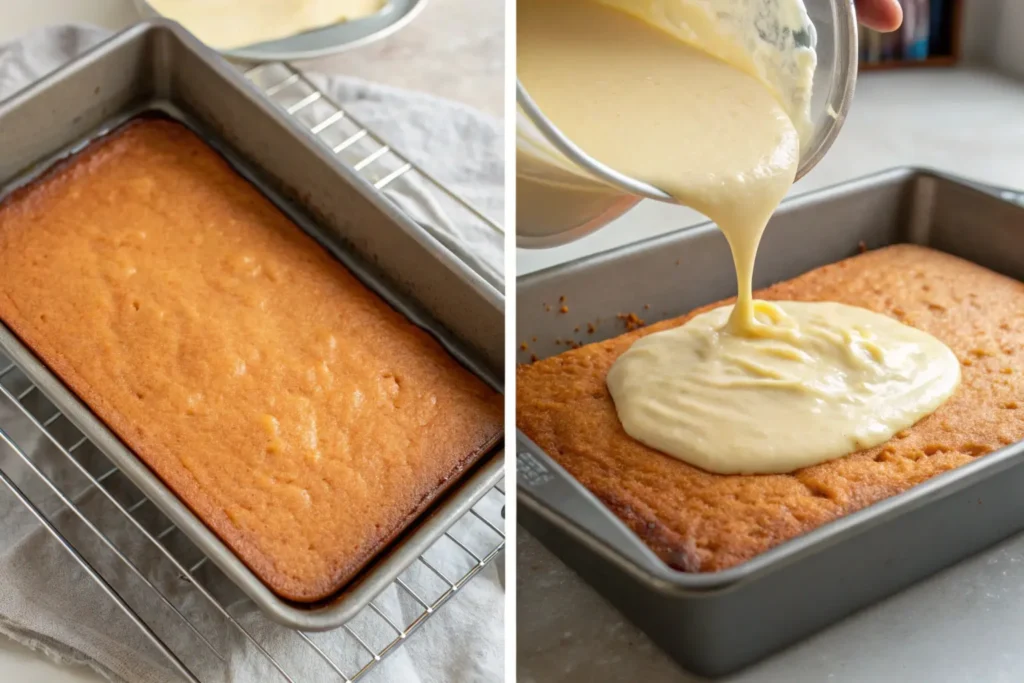
- Pour the Batter: Spread the batter evenly into the prepared pan, ensuring it’s level for uniform baking.
- Bake: Place the pan in the oven and bake for 25–30 minutes. Check for doneness by inserting a toothpick into the center—it should come out clean.
- Cool Completely: Once baked, allow the cake to cool in the pan for 10 minutes before transferring it to a wire rack.
With these steps, your kefir sheet cake recipe card will yield a tender, flavorful dessert that’s ready to impress. Up next, we’ll share tips and tricks to help you achieve professional-level results every time!
Tips and Tricks for the Best Results
Common Mistakes to Avoid
While the kefir sheet cake recipe card is easy to follow, even the simplest recipes can encounter pitfalls. Here are common mistakes to watch out for:
- Overmixing the Batter: Stirring too much can make the cake dense and chewy instead of light and fluffy. Mix until just combined.
- Using Cold Ingredients: Cold kefir, eggs, or butter can result in uneven mixing. Always use room-temperature ingredients for a smoother batter.
- Incorrect Oven Temperature: An oven that’s too hot or cold can throw off your bake. Preheat your oven and use a thermometer for accuracy.
These mistakes are easy to avoid with a little preparation and attention to detail, ensuring your cake turns out perfectly every time.
Pro Tips for Beginners
To elevate your baking game, consider these insider tips:
- Use Fresh Kefir: Fresher kefir tends to have a more pronounced tang, which enhances the flavor of the cake.
- Line Your Pan: Parchment paper or a light grease coating prevents sticking and makes cleanup easier.
- Let It Rest: Allow the cake to cool completely before slicing. This not only improves texture but also makes it easier to cut cleanly.
With these tips in your arsenal, your kefir sheet cake recipe card will yield flawless results that impress every time.
Creative Toppings and Pairing Ideas
Classic Toppings
No sheet cake is complete without a delicious topping, and the kefir sheet cake recipe card is no exception. For a traditional finish, try:
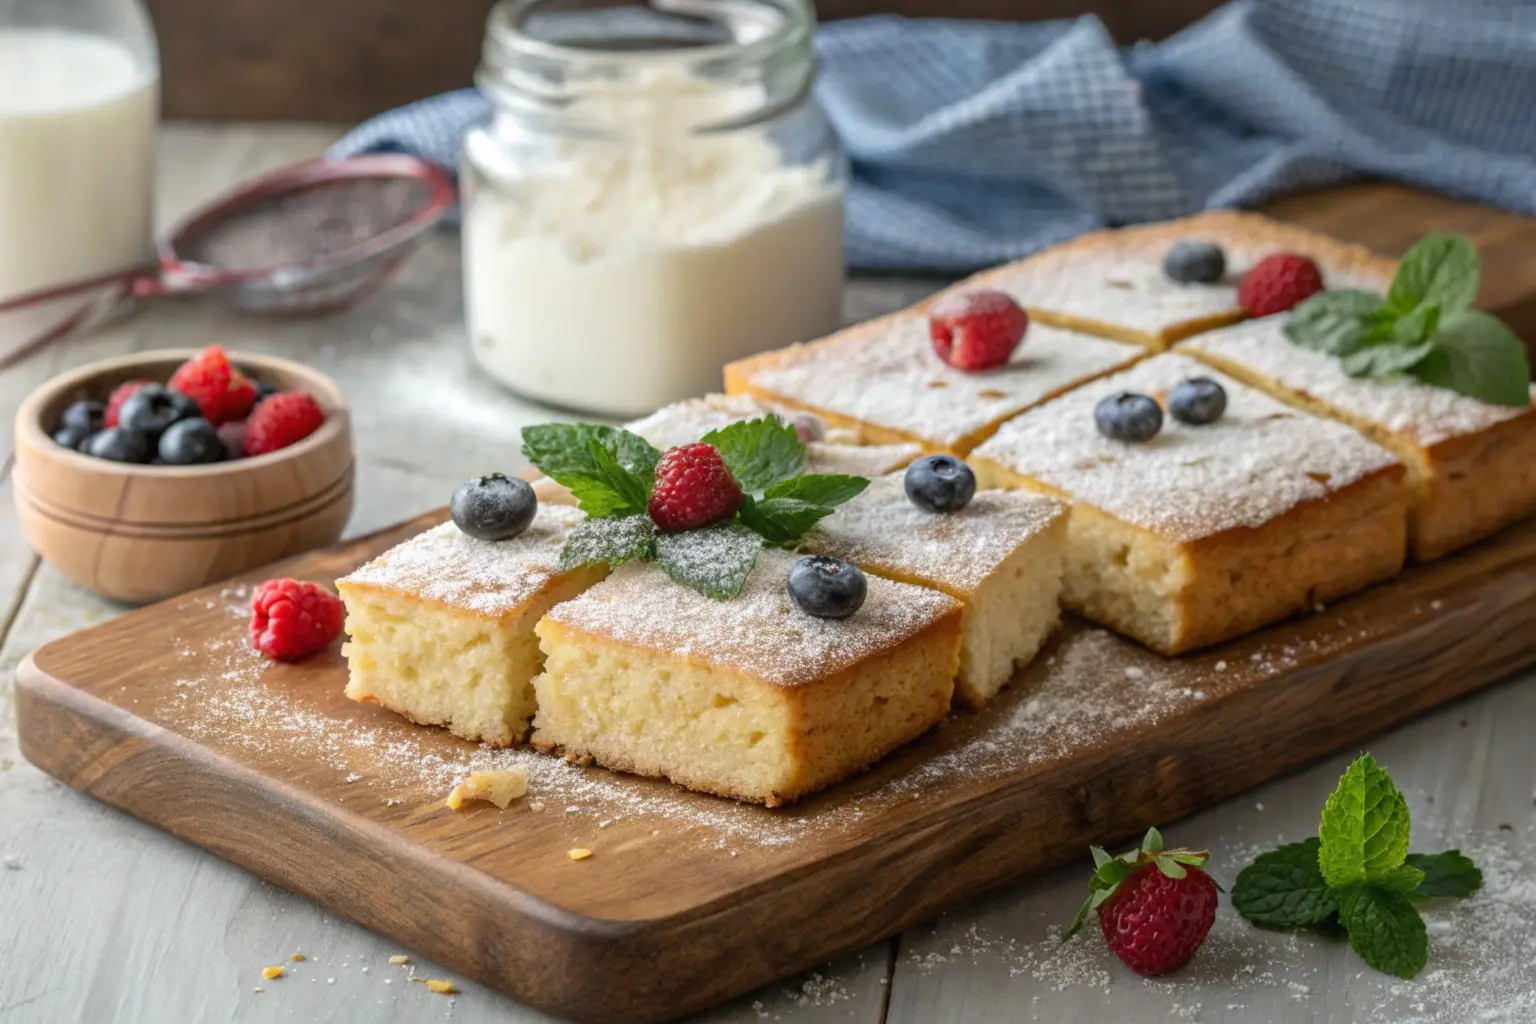
- Powdered Sugar: A simple dusting of powdered sugar adds a touch of elegance.
- Basic Glaze: Mix powdered sugar with a splash of kefir or milk for a light, sweet drizzle.
These toppings keep the focus on the cake’s tangy flavor while enhancing its visual appeal.
Indulgent Variations
If you’re feeling adventurous, there are plenty of ways to take your kefir sheet cake to the next level. First, consider these indulgent toppings and enhancements:
- Whipped Cream and Fresh Berries: To start, add a dollop of whipped cream and scatter fresh strawberries or blueberries on top. This creates a refreshing contrast that’s perfect for summer gatherings.
- Caramel Drizzle: Additionally, a rich caramel topping pairs beautifully with the cake’s tangy undertones, adding a decadent touch.
- Nutty Crunch: Finally, sprinkle toasted almonds or pecans over the cake for added texture and flavor. Not only do the nuts enhance the crunch, but they also complement the creamy base.
Pairing Suggestions
Wondering what to serve with your cake? Fortunately, there are several great options to consider:
- Hot Coffee or Tea: First, the warm, earthy notes of these beverages perfectly balance the cake’s tanginess, making them an ideal pairing for breakfast or dessert.
- Citrus Syrup: For a zesty kick, drizzle a bit of orange or lemon syrup over the cake. This brightens the flavors and provides a delightful twist.
- Vanilla Ice Cream: Lastly, for an indulgent treat, serve a slice of cake with a scoop of creamy vanilla ice cream. Together, they create a heavenly combination of warm and cold textures.
With these variations and pairings, your kefir sheet cake will be the star of any meal or gathering.
Make-Ahead and Storage Tips
Preparing the Cake in Advance
One of the greatest advantages of following a kefir sheet cake recipe card is how well it lends itself to being made ahead of time. Whether you’re planning for a party or simply want to have dessert ready, here’s how you can prepare in advance:
- Mixing the Batter Ahead of Time: You can prepare the batter and refrigerate it overnight. Cover the mixing bowl tightly with plastic wrap to keep the batter fresh. Before baking, let the batter sit at room temperature for 20 minutes.
- Pre-Baking the Cake: Bake the cake a day ahead and store it in an airtight container. Once cooled, you can frost or glaze it right before serving for a fresh finish.
By preparing in advance, you save time without compromising on the cake’s moist and tender texture.
Storage and Reheating Tips
Proper storage is essential to maintaining the quality of your kefir sheet cake recipe card. Follow these tips to keep it fresh:
- Room Temperature: If you plan to eat the cake within two days, store it at room temperature in an airtight container to preserve its softness.
- Refrigeration: For longer storage, refrigerate the cake for up to a week. Use an airtight container or wrap it tightly with plastic wrap to prevent it from drying out.
- Freezing: Planning to save some for later? Slice the cake into portions, wrap each slice in plastic wrap, and store them in a freezer-safe bag. When ready to eat, thaw in the fridge overnight or at room temperature for a few hours.
Reheating is simple. Warm a slice in the microwave for 10–15 seconds to bring back its fresh-out-of-the-oven appeal. These tips make the kefir sheet cake recipe card a convenient dessert option for any occasion.
Frequently Asked Questions
What Is Kefir, and Why Use It in Baking?
If you’re new to kefir, you might wonder why it’s such a popular ingredient in recipes like the kefir sheet cake recipe card. Kefir is a tangy, fermented dairy product similar to yogurt but thinner in consistency. Its acidity interacts with leavening agents, like baking soda, to create a light, airy texture in baked goods. Additionally, kefir adds a unique depth of flavor that other dairy products can’t replicate.
For those without kefir on hand, buttermilk or a mixture of milk and lemon juice can work as substitutes. However, using kefir provides the most authentic taste and texture.
Can I Customize the Recipe?
Absolutely! The kefir sheet cake recipe card is incredibly versatile, allowing for endless customization. Here are some ideas:
- Flavor Additions: Incorporate zests, such as orange or lemon, for a citrusy twist.
- Dietary Adjustments: Swap regular flour with gluten-free alternatives or use plant-based kefir for a dairy-free version.
- Toppings and Layers: Transform the sheet cake into a layered dessert by slicing it into squares and adding cream cheese frosting between layers.
Customizing this recipe is a great way to make it your own while keeping the essence of the original intact.
How Do I Know When the Cake Is Done?
Baking the perfect kefir sheet cake recipe card is all about timing and careful observation. To ensure your cake is ready, follow these steps:
- Visual Cues: First, look at the top of the cake. It should be golden brown, and the edges should begin to pull away slightly from the sides of the pan. This is a clear sign that the cake is nearing completion.
- Toothpick Test: Next, insert a toothpick into the center of the cake. If it comes out clean or with just a few crumbs clinging to it, the cake is fully baked. However, if the toothpick comes out with wet batter, it needs more time in the oven.
- Spring Test: Finally, lightly press the center of the cake with your finger. It should spring back without leaving an indentation. If it feels too soft or sinks under pressure, it’s not quite done yet.
With these answers to common questions, you’ll confidently bake a cake that’s sure to impress every time. And now, let’s move on to wrap up with some final tips and exciting ideas to complete your baking journey!deas to complete your baking journey!

