There’s nothing quite like the aroma of freshly baked bread wafting through your kitchen. But let’s face it—sometimes your homemade loaf turns out dry, dense, or lacking that pillowy softness you crave. In this article, we’ll uncover the secrets behind baking moist, flavorful bread at home. From choosing the right ingredients to mastering baking techniques, you’ll learn how to make bread that’s irresistibly soft and moist every time. Let’s dive into the essentials!
Understanding the Basics of Moist Bread
Before diving into techniques and ingredients, let’s lay a solid foundation by understanding what creates moist, tender bread. Bread isn’t just flour and water—it’s a carefully balanced interplay of hydration, ingredients, and baking methods. By exploring these basics, you’ll uncover what is the secret to moist homemade bread and be well on your way to baking success.
What is the Secret to Moist Homemade Bread? The Basics
Moist bread results from a combination of factors, and hydration is one of the most critical. Hydration refers to the ratio of water to flour in the dough. A higher hydration level generally leads to a softer, moister crumb. For most bread recipes, this ratio falls between 60% and 75%, but artisan breads like ciabatta often push it higher, resulting in an airy, tender loaf.
Beyond water, fats like butter, olive oil, or even coconut oil contribute to moisture by creating a barrier that traps liquid inside the bread. Sweeteners, such as honey or molasses, are also helpful because they retain moisture and add a hint of sweetness.
However, moisture retention doesn’t stop with ingredients. Steam during baking plays a key role in locking in moisture. Steam slows crust formation, giving the bread interior more time to expand and retain its natural moisture. Adding steam to your baking routine is one of the simplest ways to improve your bread’s texture.
Types of Bread That Answer What is the Secret to Moist Homemade Bread
Some breads are naturally more moist than others due to their ingredients and preparation. Understanding the different types can inspire your baking projects.
- Enriched Breads: Breads like brioche or challah are rich in eggs, milk, and butter, which provide natural tenderness and moisture. These breads are perfect for those who love soft, decadent slices.
- Sourdough: The fermentation process in sourdough bread creates a moist, chewy crumb. The long fermentation allows the flour to absorb more water, leading to a bread that stays fresh longer.
- Whole Wheat and Multigrain Loaves:While whole wheat flour absorbs more water than white flour, these breads can be moist when prepared with care. Adding ingredients like yogurt, milk, or oil helps guarantee they stay soft and tender.
- Quick Breads: Quick breads, like banana bread or zucchini bread, often contain fruits or vegetables that add moisture. These breads are dense yet incredibly moist, making them a go-to for beginner bakers.
Why Hydration and Texture Matter
Hydration levels influence more than just moisture; they also affect texture. A well-hydrated dough will result in a softer, more pliable loaf, while a drier dough tends to produce crumbly or tough bread. For example, a high-hydration dough like focaccia creates a fluffy, springy texture, while a lower-hydration dough like bagels results in a denser, chewier crumb.
To get the right balance, it’s essential to adjust your recipe for environmental factors like humidity and the type of flour used. On humid days, dough might need less water, while on dry days, a splash more liquid could make all the difference.
How to Recognize Properly Moist Bread
Moist bread has a few telltale characteristics:
- A tender crumb that springs back when pressed lightly.
- Even air pockets throughout the loaf, rather than dense or dry patches.
- A crust that’s crisp but not overly thick or hard.
If your bread falls short in any of these areas, revisiting hydration levels or ingredient ratios might be the key to improvement.
Choosing the Right Ingredients
Creating moist homemade bread begins with selecting the right ingredients. Each component plays a vital role in achieving the perfect texture. Let’s dive into how to make smart ingredient choices.
The Role of Flour in Moisture Retention
Flour is the foundation of bread, and not all flours are created equal. High-gluten flour, like bread flour, helps dough retain water better due to its strong gluten structure. This gluten traps moisture and creates a chewy, moist crumb.
If you’re aiming for soft bread, opt for enriched flours or blend bread flour with whole wheat flour. Whole wheat flour absorbs more water, so you may need to adjust your liquid measurements. For gluten-free options, you can experiment with specialty blends, but adding binding agents like xanthan gum can help retain moisture.
Yeast and Its Impact on Texture
Yeast is the powerhouse behind the rise and airy texture of bread. Using fresh or active dry yeast supports a strong fermentation process, which contributes to a softer crumb. Instant yeast works well for quick recipes but tends to dry out the dough if not properly hydrated.
When working with yeast, avoid overloading your recipe with salt. Too much salt can weaken the yeast activity, resulting in dense, dry bread.
Improving Flavor for Soft and Moist Bread
To truly reveal the secret to moist homemade bread, don’t overlook natural additives. Ingredients like milk, butter, and eggs enrich the dough and create a tender texture. Milk adds both moisture and a subtle sweetness, while butter and eggs contribute to softness and richness.
For plant-based options, try almond milk or coconut oil. These alternatives work wonders for moisture without compromising flavor. A drizzle of honey or a splash of olive oil can also improve the crumb texture and prevent the bread from drying out.
Techniques for Moist Homemade Bread
Once you’ve got the right ingredients, how you handle and bake your dough determines the final outcome. Let’s examine the techniques that make all the difference.
Achieving Perfect Dough Hydration

Dough hydration is critical. Too little water results in dry, crumbly bread, while too much water can make the dough sticky and hard to manage. Aim for a dough that feels soft but not overly tacky. To test, press your finger into the dough—it should bounce back slightly but remain pliable.
The autolyse method can help boost hydration. By mixing flour and water first and letting it rest, gluten begins to develop naturally. This simple step improves elasticity and promotes moisture retention.
Kneading for Optimal Texture
Kneading is where magic happens. It develops the gluten strands that give bread structure and trap moisture. When kneading by hand, use the heel of your palm to stretch the dough, fold it over, and repeat. With a stand mixer, use the dough hook and knead until the dough pulls cleanly from the sides of the bowl.
Over-kneading, however, can lead to a tough loaf, so keep an eye on the dough’s elasticity. If it feels stiff and unyielding, it’s time to stop.
Mastering the Proofing Process for Moist Bread
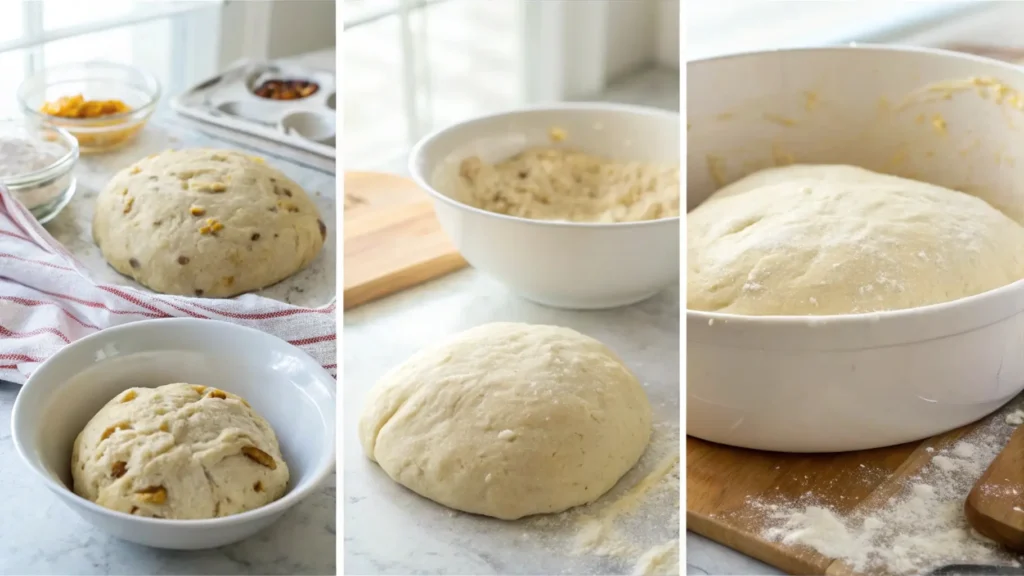
Proofing—or letting your dough rise—is essential for moist bread. During this process, yeast ferments and creates air pockets. To guarantee even rising, cover your dough with a damp cloth to prevent the surface from drying out. Let it rise in a warm, draft-free spot.
Be careful not to overproof. Overproofed dough can collapse, leaving you with a dense, dry loaf. When the dough has doubled in size and holds an indent when pressed, it’s ready to bake.
Baking Tips for Retaining Moisture
Once your dough is ready, baking it properly is key to maintaining its moisture. With the right approach, you can keep your bread soft and flavorful.
The Right Oven Temperature

Temperature is everything when baking bread. Baking at the correct heat guarantees the dough cooks evenly, locking in moisture while forming a crust. Preheat your oven to create a consistent environment. Typically, bread bakes best between 375°F and 450°F, depending on the type of loaf.
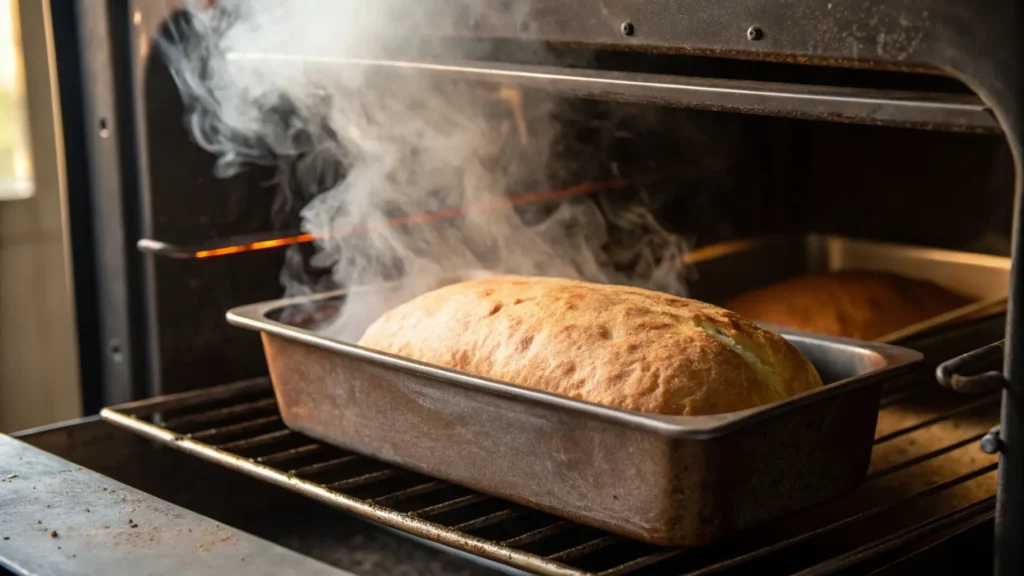
For even better results, try steam baking. Place a pan of hot water in the oven to generate steam, or spritz water onto the oven walls during the first few minutes of baking. This step helps prevent the crust from hardening too quickly and keeps the inside moist.
Choosing the Ideal Bakeware
The type of pan you use can greatly impact your bread’s moisture. Heavy-duty bakeware like cast iron or ceramic traps heat efficiently, which encourages even cooking. Non-stick or glass pans work well, too, but be sure to adjust the baking time slightly if switching between materials.
Another trick? Use a loaf pan for softer bread or bake directly on a pizza stone for artisan-style loaves. The method you choose should align with the type of bread you’re baking.
Cooling and Storing Bread Properly
Cooling your bread correctly is just as important as baking. Remove the loaf from the pan immediately after baking to avoid sogginess. Let it cool on a wire rack for proper airflow. Skipping this step can result in a dense or overly moist crust.
To store bread, wrap it in a clean kitchen towel or place it in a paper bag to maintain its texture. Avoid plastic wrap unless freezing the bread, as it can trap moisture and make the crust soggy.
Common Mistakes and How to Avoid Them
Even seasoned bakers can stumble when trying to answer the question, what is the secret to moist homemade bread? Let’s examine some common pitfalls and how to fix them.
Over-Kneading or Under-Kneading Dough
Striking the right balance during kneading is essential. Overworked dough becomes tough and chewy, while under-kneaded dough lacks structure, resulting in a crumbly texture. To find the sweet spot, test the dough by stretching a small piece. If it forms a thin, smooth sheet without breaking, it’s ready.
If kneading by hand, avoid adding too much flour during the process. Sticky dough may seem challenging, but over-flouring will dry out the loaf.
Incorrect Oven Settings
An oven that’s too hot can dry out the crust before the center cooks, leaving you with uneven bread. On the flip side, a low temperature might result in an underbaked loaf. Using an oven thermometer helps you maintain accuracy.
Additionally, opening the oven door frequently can cause temperature fluctuations. Try to resist peeking too often to keep the heat stable.
FAQs on Moist Homemade Bread
When examining what is the secret to moist homemade bread, you might encounter common questions that arise during the bread-making process. Let’s address some of these concerns to help you achieve baking success.
Why is My Bread Dry Even After Following a Recipe?
If your bread turns out dry despite following a recipe, it’s likely due to a hydration issue. The amount of water your dough needs can vary based on factors like the type of flour or your kitchen environment. Whole wheat and specialty flours, for example, absorb more water than white flour. Adjusting the liquid in your recipe slightly can make a big difference.
Another culprit could be overbaking. Setting the oven temperature too high or leaving the bread in the oven for too long can evaporate moisture. To avoid this, keep a close eye on your loaf during the final minutes of baking and test its doneness with a thermometer—bread is ready when the internal temperature reaches around 190°F.
Can I Use Alternative Flours Without Compromising Moisture?
Yes, you can use alternative flours and still bake moist bread, but it may require a few tweaks. Gluten-free flours, like almond or rice flour, lack the elasticity of wheat-based flours. To counter this, add binders such as xanthan gum or psyllium husk to improve texture and moisture retention.
Moreover, consider increasing the liquid slightly or incorporating ingredients like eggs, yogurt, or oil, which can add richness and softness. A blend of gluten-free flours often yields better results than a single type.
How Does Room Temperature Affect Dough Hydration?
Temperature plays a significant role in how dough hydrates and rises. Warmer conditions speed up fermentation, which can make the dough more elastic but may also dry it out faster. If your kitchen is cool, the dough may take longer to rise, but it retains moisture more effectively.
For best results, aim for a moderate room temperature. Cover the dough with a damp towel or plastic wrap to prevent its surface from drying out during proofing.

